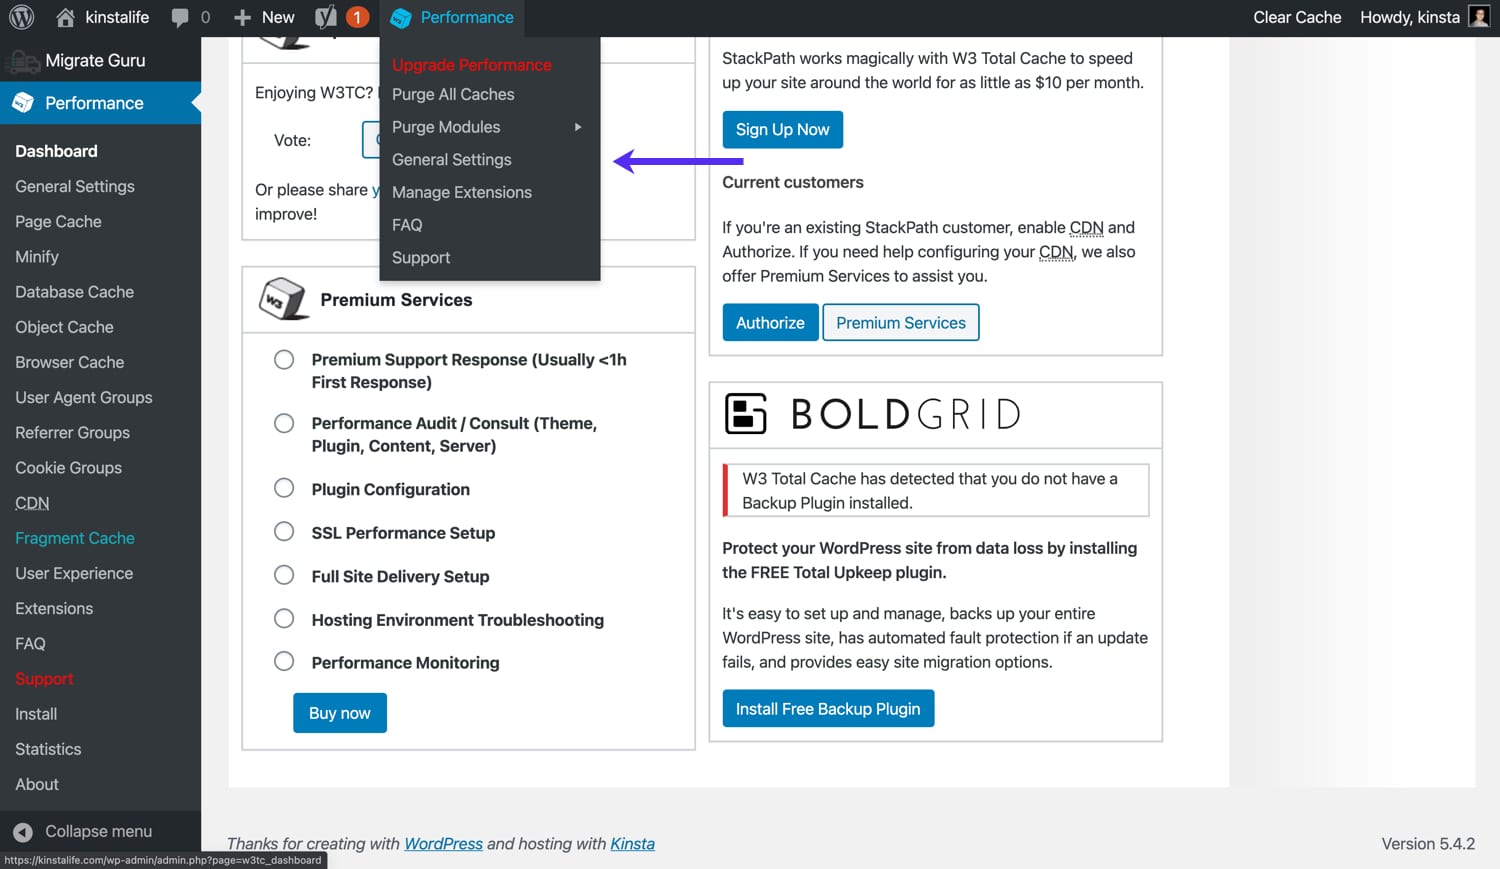
Ways to Leverage Browser Caching by W3 total cache WordPress plugin configuration for superfast website
Speed up any website superfast in 5 seconds without coding
Follow below Leverage Browser Caching method by wordpress W3 Total Cache plugin configuration to speed up your wordpress website superfast in 5 seconds and easily improve your PageSpeed and YSlow easily-

1. Uninstall Any Cache plugin in WordPress
Inorder to install W3 Total Cache in WordPress, you have to Deactivate and delete any other caching plugin like supercahe, Quick Cache ,etc if you already have installed in your WordPress admin panel.
Before proceeding,you have to confirm below settings your web hosting control panel or your SSH account.
- The folder in your ftp called wp-content/ and this path wp-content/uploads/ (temporarily) must have 777 permissions allotted by you manually if its not set before proceeding,
- You have to right click the above two locations (wp-content & this path wp-content/uploads/ (temporarily) ) and change 777 permissions

2. Install W3 Total Cache in WordPress
- To begin new Installation of W3 Total Cache in WordPress ,
- Login as an administrator to your WordPress Admin account
- Go to your WordPress admin panel, and click on Plugins » Add New, where you will search the name “W3 Total Cache”.
Find W3 Total Cache and activate the plugin on the “Plugins” page to complete the installation
3. W 3 total cache configuration SETTINGS
After finishing Installation of W3 Total Cache configure General Settings by below tips to speed up your slow website .

A)Page Cache
Go to Page Cache and Just check web Page Cache to turned on caching, as a result it allows you to increase response time of your server load and show a web cached copy.

B)Browser Cache
Go to Browser Cache and it is recommended to click to turn it on and click save all Settings button

Just check the Enable Browser Cache option and click Save all settings button which helps in leveraging browser caching.
How to add expires header lifetime in Browser Cache when w3 total cache expires headers are not working
Follow below steps to add expires header lifetime in Browser Cache easily
Click the Enable box for below options
set Last-Modified header,
set expires header
set cache control header,
set W3 Total Cache header
enable HTTP (gzip) compression.
Set all the cache control policies to : Cache with Max-age.
Similarly For HTML & XML Click the Enable box for below options
Set expires header lifetime : 7200 seconds.
, set expires header, set cache control header, set W3 Total Cache header and enable HTTP (gzip) compression.
Similarly for For CSS & JS Click the Enable box for below options
Set expires header lifetime : 31536000 seconds (over 1 year).
Enable set Last-Modified header, set expires header, set cache control header, set W3 Total Cache header and enable HTTP (gzip) compression.
Similarly For Media and other files Click the Enable box for below options
Set expires header lifetime : 31536000 seconds.
Enable set Last-Modified header, set expires header, set cache control header, set W3 Total Cache header and enable HTTP (gzip) compression.
Below is screenshot to add expires header lifetime in Browser Cache when w3 total cache expires headers are not working


